Tutorials
How to start work on Arduino
Making your first Arduino project can be a fun and rewarding experience. Here are some general steps you can follow to get started:
1. Choose your project idea: Think of what you want to make using your Arduino. You could start with something simple like blinking an LED, or you could choose a more complex project.
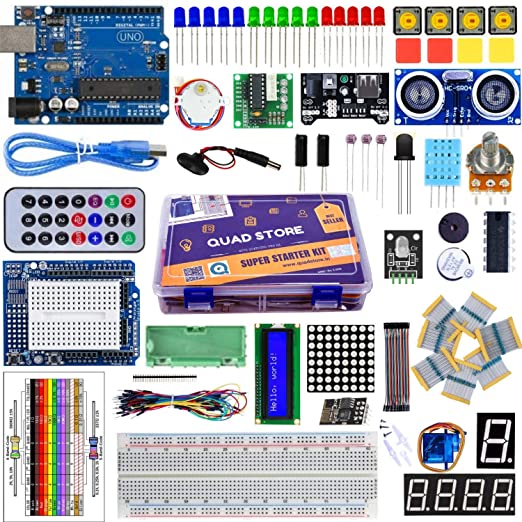
2. Gather the necessary components: Once you have your project idea, you will need to gather the necessary components. This might include an Arduino board, a breadboard, wires, resistors, LEDs, and other electronic components. Make sure you have all the necessary components before you begin.
3. Set up your Arduino: Before you can start programming your Arduino, you will need to set it up. This will involve connecting it to your computer using a USB cable and installing the necessary drivers and software.
4. Write your code: Once your Arduino is set up, you can start writing your code. You can use the Arduino IDE (Integrated Development Environment) to write and upload your code to your Arduino board.
5. Test your project: Once you have written and uploaded your code, you can test your project. Make sure to test it step-by-step to ensure that each part is working as intended.
6. Iterate and improve: Once your project is working, you can iterate and improve it. This might involve adding new features, improving the user interface, or optimizing the code for better performance.
Remember to be patient and take your time when working on your first Arduino project. Don't be afraid to ask for help or consult online resources if you get stuck. With practice and persistence, you can develop your skills and create more complex and sophisticated projects.